Tambourine Care Guide | Tips and Ideas
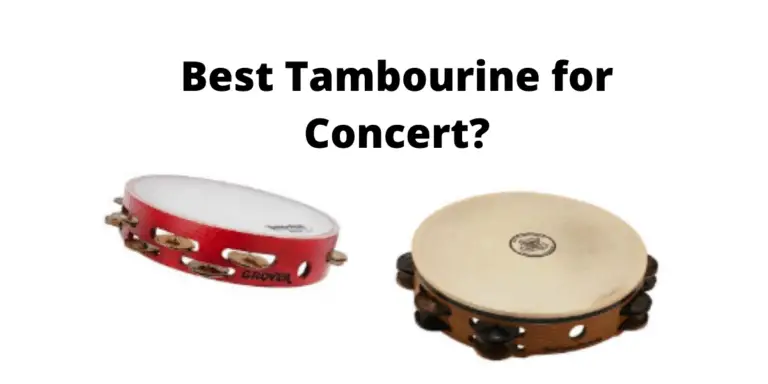
Tambourines have a reputation of being simple instruments that have a high degree of popularity with elementary school music classes, however, a high-quality concert tambourine can be an incredibly effective addition to a wide variety of pieces. To ensure that your tambourine is ready for any situation, it is important to know basic tambourine care and efficient cleaning solutions.
How to Clean a Tambourine
Tambourines are made of a variety of different materials, and cleaning each can become complicated if you don’t know what you are doing. From goatskin or plastic membranes to silver, brass, or bronze jingles, it is imperative that each piece of the tambourine is cleaned appropriately while protecting the other portions of the instrument to ensure that harsher metal cleaners do not damage the membrane or shell.
Basic cleaning procedure
For basic cleaning of your tambourine, you can use a soft, damp cloth to simply wipe clean the surface of the shell and the membrane or head. Be careful about the amount of moisture in the rag when you use it on a goatskin membrane, as too much water can damage the leather.
To clean the jingles, you can use a cotton swab or cotton bud with a small amount of vinegar. This should scrub away any rust that has formed, however, take precautions to avoid getting the vinegar on the shell or membrane as high concentrations of vinegar can damage the wood, leather, or plastic.
Below we will look at more specific cleaning formulas and processes for the different materials used to make tambourines.
Tambourine Head or Membrane Cleaning
The head or membrane of the tambourine is the flat surface that is struck by the percussionist, similar to the head of a drum. On the tambourine, the skin is commonly made out of goatskin, but may also be made of thin, durable plastic. It’s important for you to clean the different types of tambourine membrane appropriately, using methods and products that are intended for the different materials.
Goat Skin Membrane
Goatskin has been used to make leather membranes for the tambourine for generations. It is a strong and durable material but requires proper care and maintenance to keep it functioning at the highest levels.
Be sure that you keep your goatskin tambourine in a safe area depending on your geography. For more humid areas you may need a place to protect your tambourine from becoming too moist, while in more arid climates you may need to provide more humid storage space to ensure that the goatskin does not stretch or crack.
To wash your goatskin membrane, you will first need the following items: A clean toothbrush, mild liquid dish soap, and cold water. Do not use hot water. Mix the liquid dish soap with the water to create a cold, soapy bath, but do not submerge the tambourine into the water. Due to the jingles and shell, the membrane must be cleaned carefully, while ensuring the protection of the other parts of the instrument.
Using the toothbrush, gently scrub the soapy water into the goatskin membrane, making sure not to put too much water, or too much soap onto the membrane. Take your time cleaning the dirt and grime from the tambourine head and once you are satisfied you can rinse out the toothbrush in clean water. Using the clean water and the newly cleaned toothbrush you can begin slowly rinsing the goatskin to remove any excess soap.
When you are confident that you have thoroughly rinsed the goatskin of the soap, dry the goatskin with a soft cloth or towel to remove excess water, then allow the tambourine to dry in a safe location.
Durable Plastic Membrane
The durable plastic membrane or head is an easier material to work with than the goatskin, but the process for cleaning it is very similar. You will need a soft cloth that won’t damage the thin plastic, cold water, and dish soap or even some lightly salted water to provide a gentle, but effective consistency to the cleaner.
Dampen the soft cloth, but make sure that you are not using too much water. Similar to the goatskin cleaning process, you want to be certain that you do not get the shell or the jingles wet. Gently begin wiping the membrane to remove fingerprints, dirt, and grime. Do not scrub too hard or you may put a hole in the plastic head.
Once you are satisfied with how the head looks, rinse out the cloth to remove any soap or salt, and then gently begin rinsing off the plastic membrane using a now clean and damp cloth. Take your time and ensure that you rinse the head thoroughly to avoid any soapy or salty residue.
Tambourine Shell Cleaning
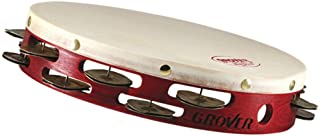
The shell of the tambourine is similar to the shell of a drum. It is commonly circular in shape, though this is not always the case, and holds the jingles in various positions around its edge. The membrane is stretched over the sides of the shell and is normally glued or tacked to the shell making it impractical to remove for cleaning purposes. Shells can be made of a variety of different materials, but are normally made using either wood or composite material.
Composite Shell
Composite shells can be cleaned using common household cleaners, such as Pledge or Windex, but you must be careful to only use these products on the shell of the tambourine and to avoid the membrane and jingles.
First, you will need to find a soft cloth for wiping down the shell. Apply Pledge or Windex to the cloth and begin the process of lightly scrubbing the composite shell, taking special care to avoid the lip of the membrane and the mounted jingles.
To avoid scratching the surface of the shell, you will want to find the softest cloth available. Professional drummers have suggested using cloth baby diapers and baby blankets because these products have been designed with softness in mind.
Once the surface of the shell has been thoroughly cleaned, take time to clean off any Windex or Pledge that may have gotten on the jingles or the membrane.
At this point, the shell can be considered clean, however, many people suggest using a light wax or polisher to give the shell an added shine. If you choose to do this, use the same caution around the membrane and jingles as you did during cleaning and use only mild products to avoid causing damage to the instrument’s functionality.
Wooden Shell
Wooden shells tend to require a higher frequency of care, due to wood’s more fragile and porous construction, however, the general process is the same.
Find a soft cloth that can be used to scrub the surface of the wooden shell. Once done, you can use a furniture cleaner, such as Pledge, that you know is safe for wood finishes. Apply the cleaner to the cloth and begin slowly wiping the shell clean.
Ensure that any cleaner that is applied to the jingles or the membrane is wiped off after you have finished cleaning the shell and then apply a wood polish for an added shine if you feel that it is necessary. However, make sure that the polish you use is mild and that you do not use it on the jingles or the membrane.
Jingle Cleaning
The jingles are the pieces of metal that sit within the shell and that give the tambourine its trademark sound. They can be made of silver for high pitched tones, copper for medium pitched tones, or with bronze for lower-pitched tones.
Due to the jingles’ placement within the shell of the tambourine, the cleaning process needs to be careful and thorough, while ensuring that all liquids or substances used while cleaning the jingles do not come into contact with the shell or the membrane to avoid damage.
Silver Jingles
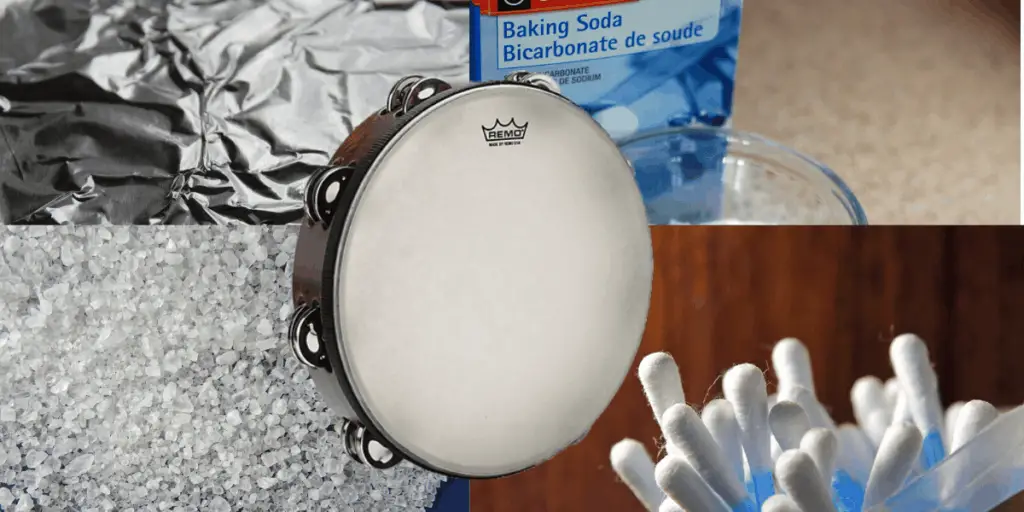
Silver jingles make a beautiful sound, but can be difficult to clean when dirt, grime, and tarnish have built up over time. To start you will need:
- Aluminum foil
- Glass or aluminum dish
- 1 cup of boiling water
- 1 tablespoon of baking soda
- 1 tablespoon of sea salt
- 1/2 cup of white vinegar
- Q-tips or cotton swabs.
- Begin by adding the baking soda and sea salt to the aluminum dish (or glass dish lined with aluminum foil).
- Slowly add the boiling water and the vinegar. Be careful because the combined products will initially create a reaction.
- Apply the mixture to a Q-tip or cotton swab and then begin gently cleaning the silver jingles one at a time. Each jingle should take approximately 30 seconds of gentle scrubbing to clean thoroughly.
- Once all jingles are cleaned, ensure that any area on the shell or membrane that came in contact with the Q-tips or cotton swabs is wiped clean. This may require you to use a damp cloth with cold water.
Copper Jingles
Copper jingles are less difficult to clean than silver jingles, but still require caution to ensure that the cleaning solution does not damage the shell or the membrane.
To begin cleaning your copper jingles you will need approximately 1 tablespoon of salt and 1 cup of white vinegar. Mix these two together and apply them to a Q-tip or cotton swab. You will also need a small cup of water to be used for rinsing the jingles afterward.
Gently clean each copper jingle and then repeat the process with a damp cotton swab to remove excess salt and vinegar from the metal. Clean any areas of the tambourine that may have come in contact with the mixture to ensure ongoing functionality.
Alternately, you can use a combination of baking soda and lemon juice for a deeper cleaning but proceed cautiously as lemon juice is a strong acid that can damage your tambourine shell or membrane.
Bronze Jingles
Cleaning your bronze jingles is very similar to cleaning copper jingles, however, the solution is slightly different.
You will begin by combining flour and salt in a small bowl. The amounts should be relatively equal to each other. Then add vinegar to create a paste.
Using a Q-tip or cotton swab, gently apply the paste to the bronze jingles, being careful to avoid the shell and the membrane. Let the paste sit for about a half-hour, then begin lightly rinsing the paste off of the jingles before drying with a soft cloth.
Similar to the bronze jingles, you can also use a mixture of lemon juice and baking soda, however, this mixture tends to be more corrosive and runs a higher risk of damaging your instrument.
![Tips for Recording Tambourine [Instruments – Microphones]](https://cdn-0.coolpercussion.com/wp-content/uploads/2021/02/recording-tambourine-768x512.png)
![Best Percussion Instruments For Kids [That you can play too]](https://cdn-0.coolpercussion.com/wp-content/uploads/2020/09/woman-4010110_1920-768x512.jpg)
